Teryx 800 Nerf Bars / Tree Kickers
Our Tree Kickers, like all others, require drilling into the outside support frame. Fitting both T2 & T4, they secure with (5) 10mm stainless steel bolts (included). Clamps will make it easier and we advise having a friend to help.
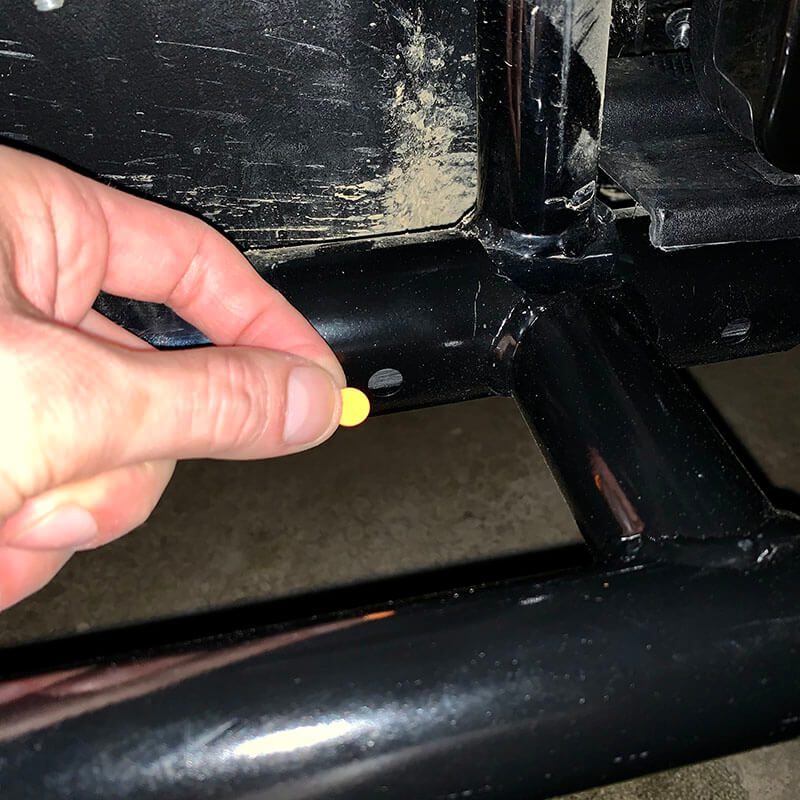
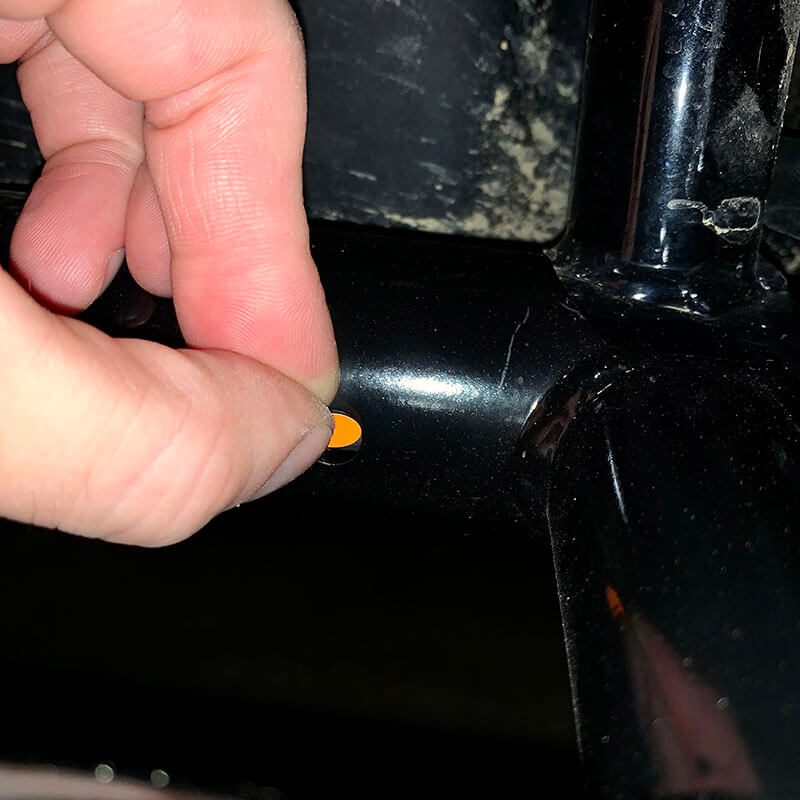
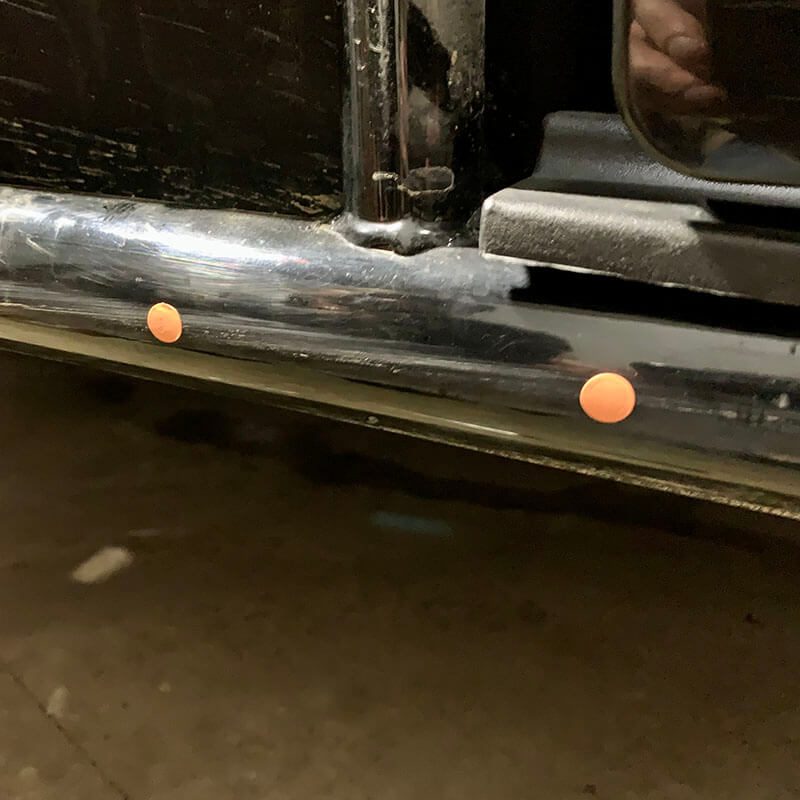
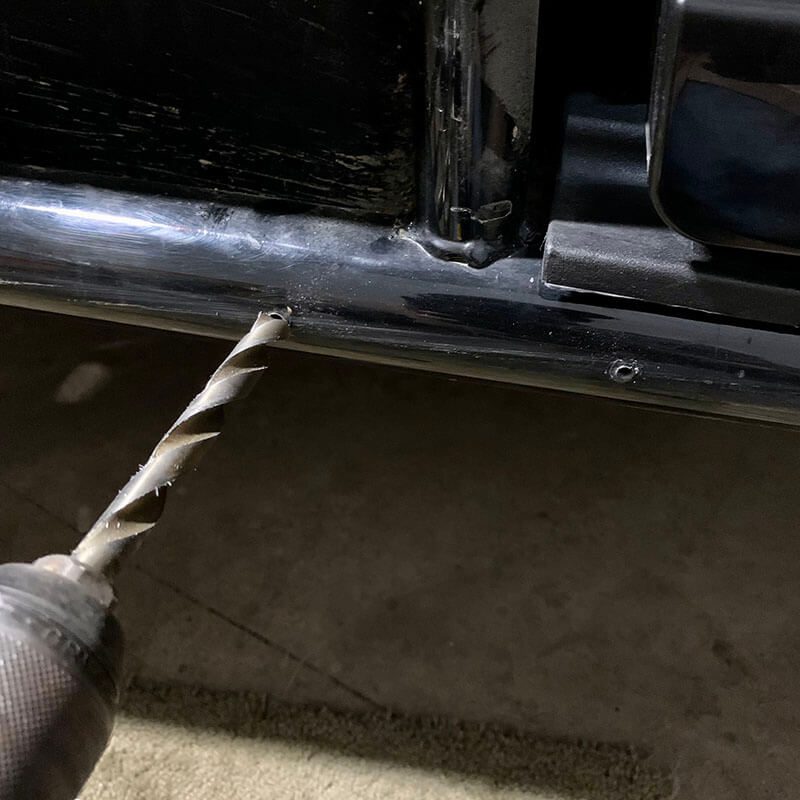
Once you receive the nerf bars you will see how they align to the support frame. Start with the rear where the tail curves upward, that will ensure the step plate is level. In some of the bolt holes like the front one it will be easier to put the bolt in through through the nerf bar and then put the nerf bar on the machine while guiding the bolt into the holes you’ve drilled. Do not tighten all the way, get it started and tighten as needed. Secure the front after the rear. Use clamps to help hold it in place or keep it tight. If one end pulls away from the frame a little bit do not panic, the bolt will pull it in when you tighten it down. Do not over torque the stainless bolts. Unfortunately every machine can have small variances that may require some patience during install. In your package will be a small pack of orange 10mm stickers. They will fit easily inside the bolt holes of the mounting locations. Open the front/rear doors and remove the screws securing the floorboard to the tube frame if you need room to get the top edge under the floor. You should also remove the black plastic seat side covers (on the passenger side this is where your fuel tank is). Have your helper hold the Nerf Bars in place and place the orange round stickers centered inside the bolt holes so they stick to the frame. Use a clamp to get the half round mounting points closer to the frame so you can mark the hole more accurately. Also Remove the nerf bars and the orange stickers will be left indicating your drill locations. Locate the center of your orange sticker to tap with a punch. Start with a smaller drill bit before upsizing to 7/16”. Make sure you hold your drill level. Use caution when drilling towards your fuel tank on the passenger side! Please message or call us with any questions. Reference pictures below.